
Disclaimer: This is only a journal of what I did to my refrigerator, use any of this narrative at your own risk, you are responsible for your own actions and you are responsible for any damage to property or person, yadda, yadda, yadda. Make sure the refrigerator is unplugged before you start cutting AND make sure you know where all the coolant lines, electrical lines or any other important refrigerator features are before you start cutting. If you aren't sure then don't do this
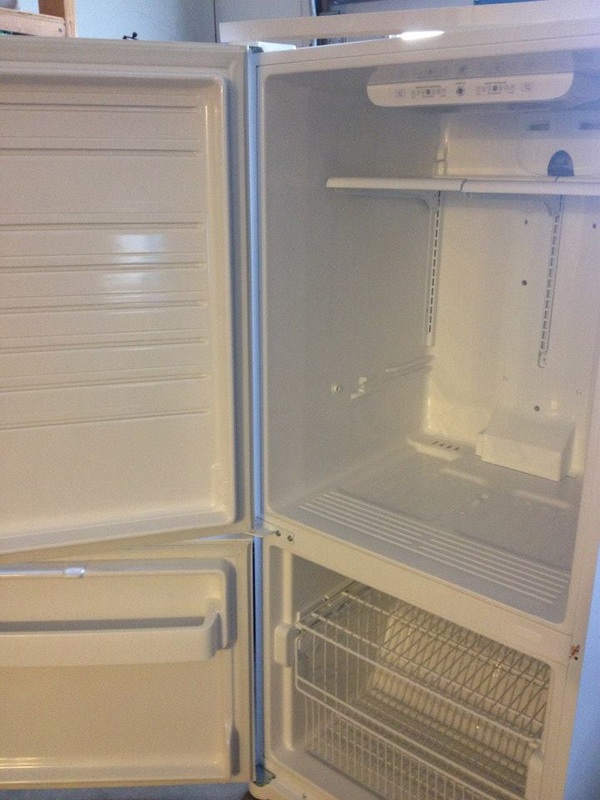 | 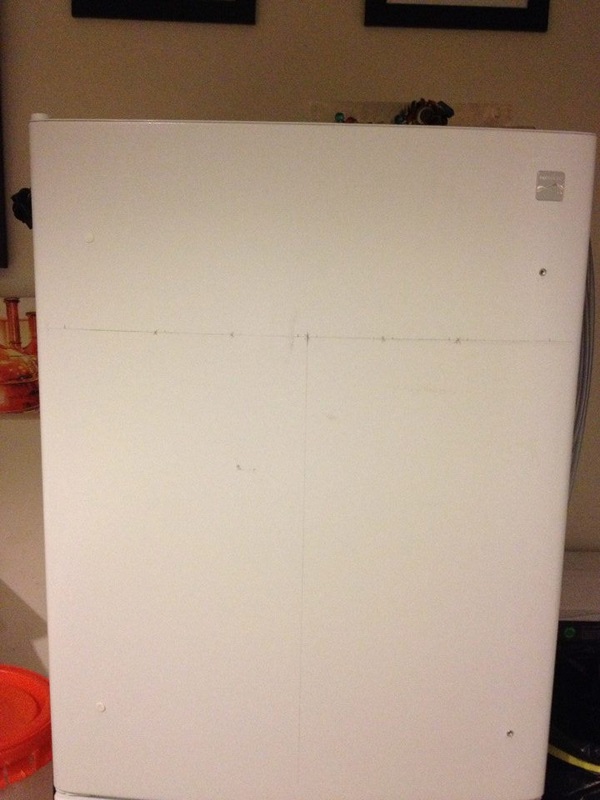 |
This particular model (Kenmore 795.69002.900) was really easy to convert because the drawers weren't molded into the plastic. All I had to do was take out all the door drawers and give it a good cleaning and it was ready to go. The first step was to draw the horizontal tap line at the height I wanted and then find the middle line to start my tap measurements.
 | 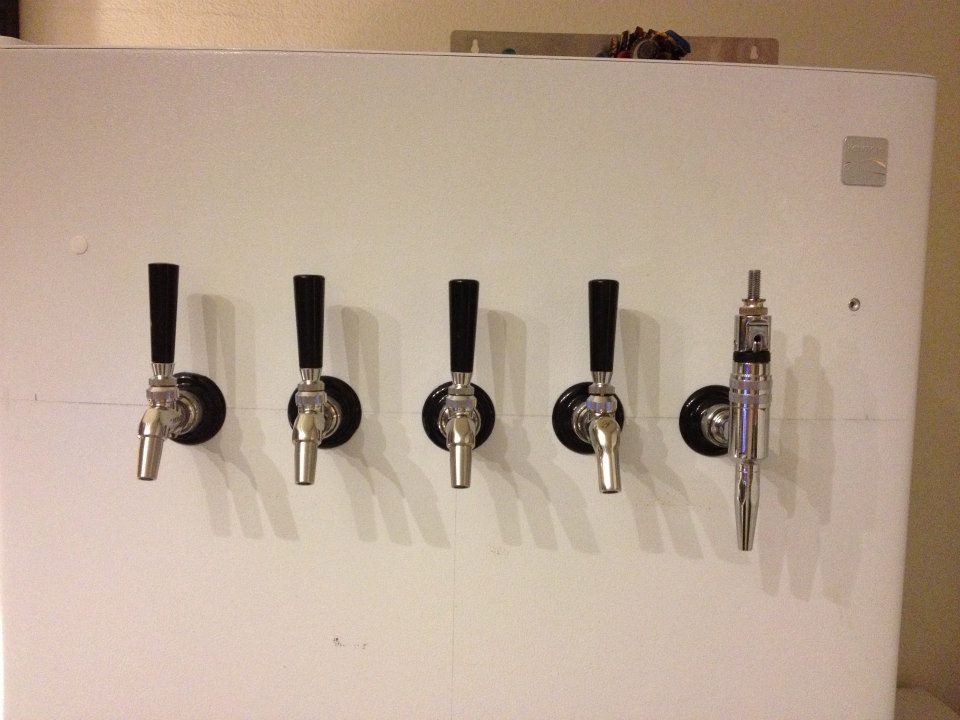 |
Step 2: Prep for draught components.
The planning part is pretty straight forward. Find the vertical center of the door and mark it with a pencil. Next plan for the horizontal height of your taps. Keep in mind that your tap handles will be at least four inches (maybe more) higher than your holes. This is important especially if the handle height will impede the freezer door from opening or if the handles will stick out above the top of the fridge. The latter can be a mild to major annoyance if you use the top of your fridge as a shelf, like I do, and accidentally hit the tap handle and pour beer all over the floor.
After you have decided on the horizontal line, use a level for this step, measure out 2 inches or more to the left an right of the middle line and mark your first two tap holes. Measure out 4 inches (or the same interval you used for the first two holes) from each of those marks and mark the next two holes. Repeat as needed.
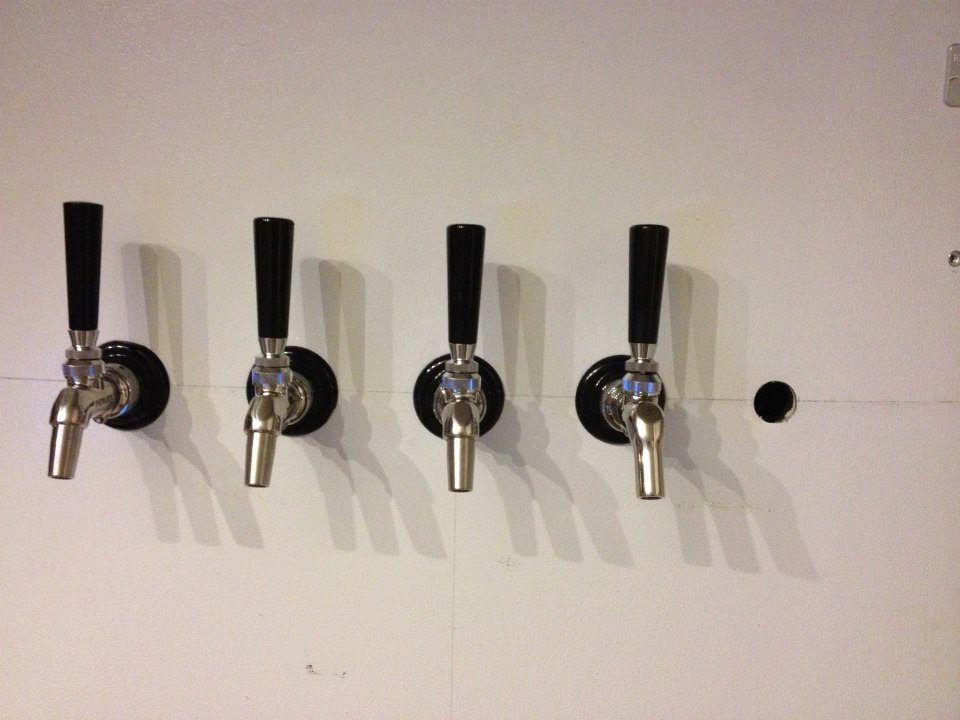
Drill pilot holes on each of your marks. This will help guide your hole saw. Just a quick note on hole saws. Spend the extra $10 and get a quality metal hole saw. Sometimes you can find these at at homebrew shops and you can bet that they will be the correct size for your tap shanks, that way. I used a cheap hole saw on my first fridge and it tore the metal apart and it fell apart after one hole. Luckily the tap collar covered up the mess but I learned my lesson and now I am passing that nugget on to you.
Drill through from the outside first and the tapping part of the hole saw will probably come through the plastic or foam on the inside of the door. This will give you a guide to follow so you can clean out the foam around each of the tap holes from the inside. Use a regular wood/plastic hole saw to enlarge the hole on the inside but do not cut through the door. You are only doing this to make the inside hole big enough so the shank collar nut, the part that secures the tap to the refrigerator door, will tighten securely to the metal part of the refrigerator door.
For more detailed directions please read this post.
The planning part is pretty straight forward. Find the vertical center of the door and mark it with a pencil. Next plan for the horizontal height of your taps. Keep in mind that your tap handles will be at least four inches (maybe more) higher than your holes. This is important especially if the handle height will impede the freezer door from opening or if the handles will stick out above the top of the fridge. The latter can be a mild to major annoyance if you use the top of your fridge as a shelf, like I do, and accidentally hit the tap handle and pour beer all over the floor.
After you have decided on the horizontal line, use a level for this step, measure out 2 inches or more to the left an right of the middle line and mark your first two tap holes. Measure out 4 inches (or the same interval you used for the first two holes) from each of those marks and mark the next two holes. Repeat as needed.
Drill pilot holes on each of your marks. This will help guide your hole saw. Just a quick note on hole saws. Spend the extra $10 and get a quality metal hole saw. Sometimes you can find these at at homebrew shops and you can bet that they will be the correct size for your tap shanks, that way. I used a cheap hole saw on my first fridge and it tore the metal apart and it fell apart after one hole. Luckily the tap collar covered up the mess but I learned my lesson and now I am passing that nugget on to you.
Drill through from the outside first and the tapping part of the hole saw will probably come through the plastic or foam on the inside of the door. This will give you a guide to follow so you can clean out the foam around each of the tap holes from the inside. Use a regular wood/plastic hole saw to enlarge the hole on the inside but do not cut through the door. You are only doing this to make the inside hole big enough so the shank collar nut, the part that secures the tap to the refrigerator door, will tighten securely to the metal part of the refrigerator door.
For more detailed directions please read this post.
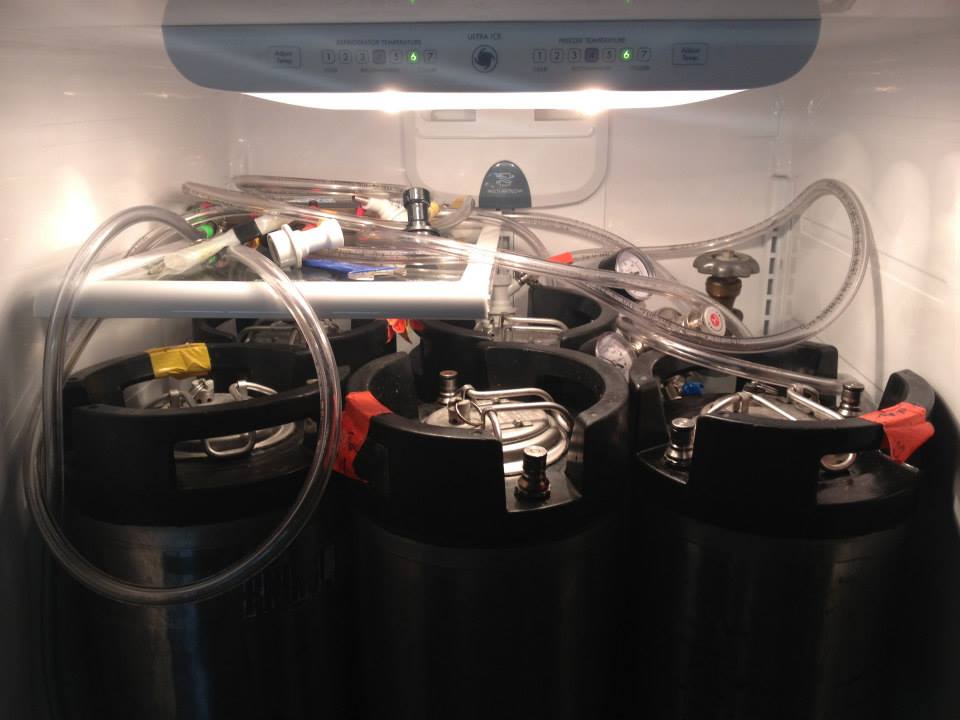 |  |  |
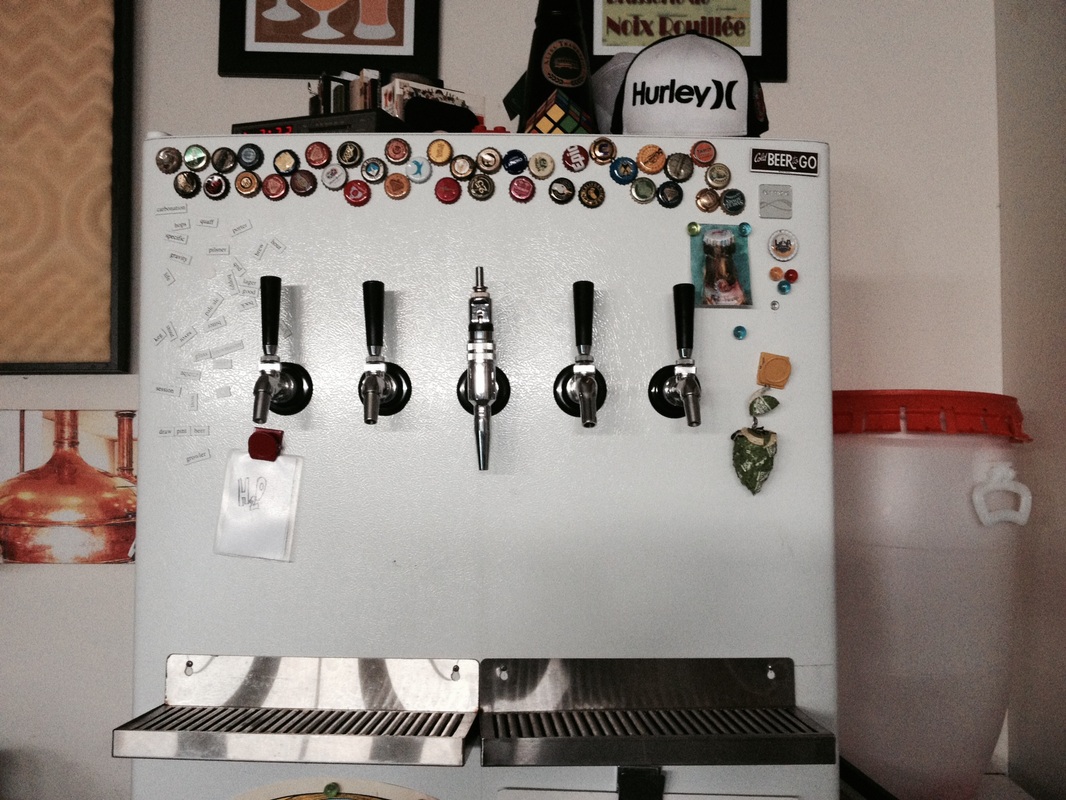
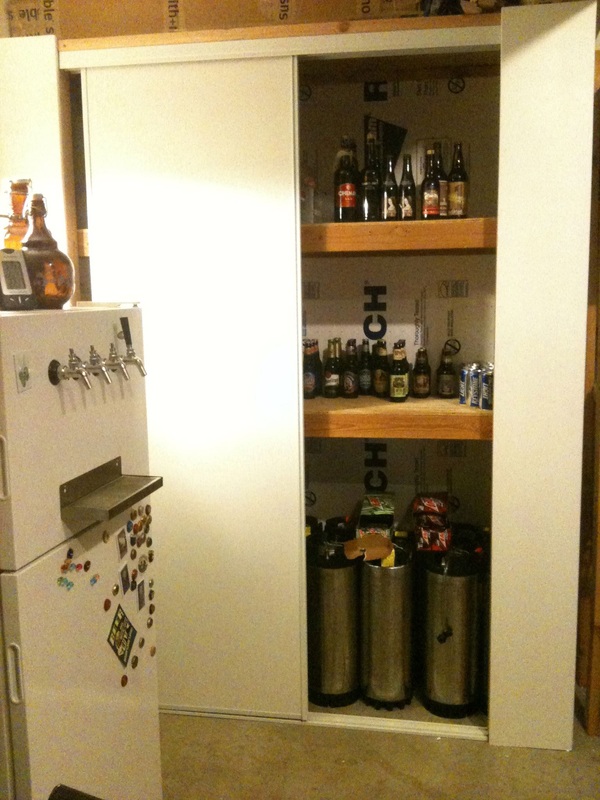
-It is snug in there with 5 kegs but it would fit one more if I were to take out the CO2 tank.
-The half tray system in this fridge is really nice because it gives the CO2 tank the extra head room it needs and provides a place for my CO2 manifold.
-A temp controller in the freezer keeps it from doing its job too well and provides a great temp controlled bottle storage.
-The half tray system in this fridge is really nice because it gives the CO2 tank the extra head room it needs and provides a place for my CO2 manifold.
-A temp controller in the freezer keeps it from doing its job too well and provides a great temp controlled bottle storage.

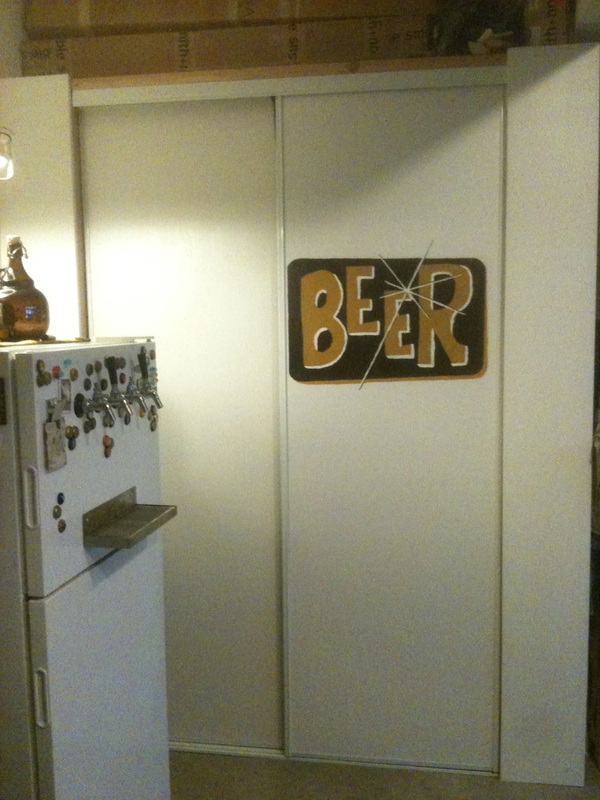
Another version from a HopHead on Facebook. I really like the "floor" board. This model does have an uneven floor and this would help keep loose kegs upright. I also like the idea of coming out of the side of the fridge. Evidentially there are no coolant lines in there either.


 RSS Feed