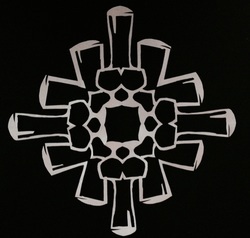
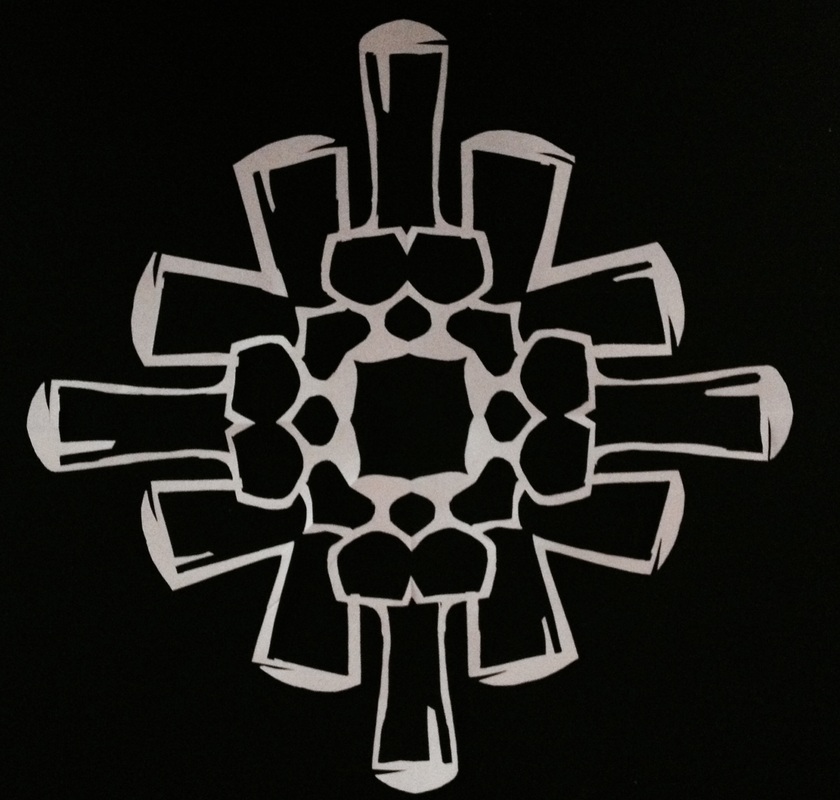
 beer snowflake: pilsner, pint, snifter
 Difficulty: Hard
Tools Needed: X-acto Knife
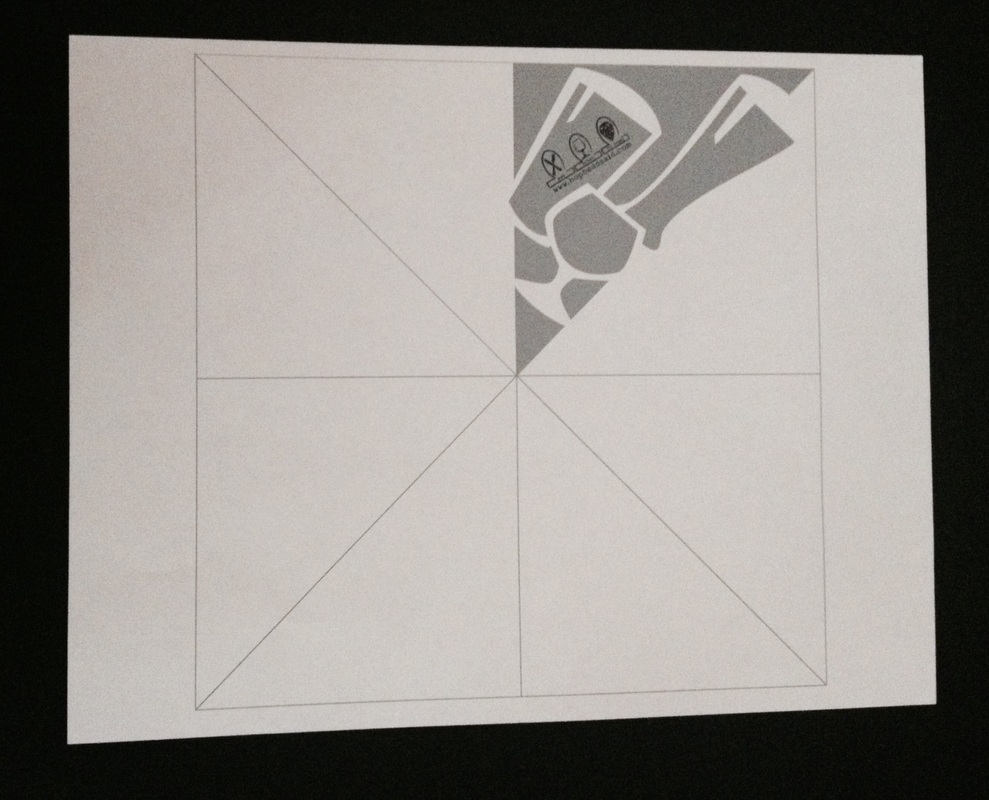
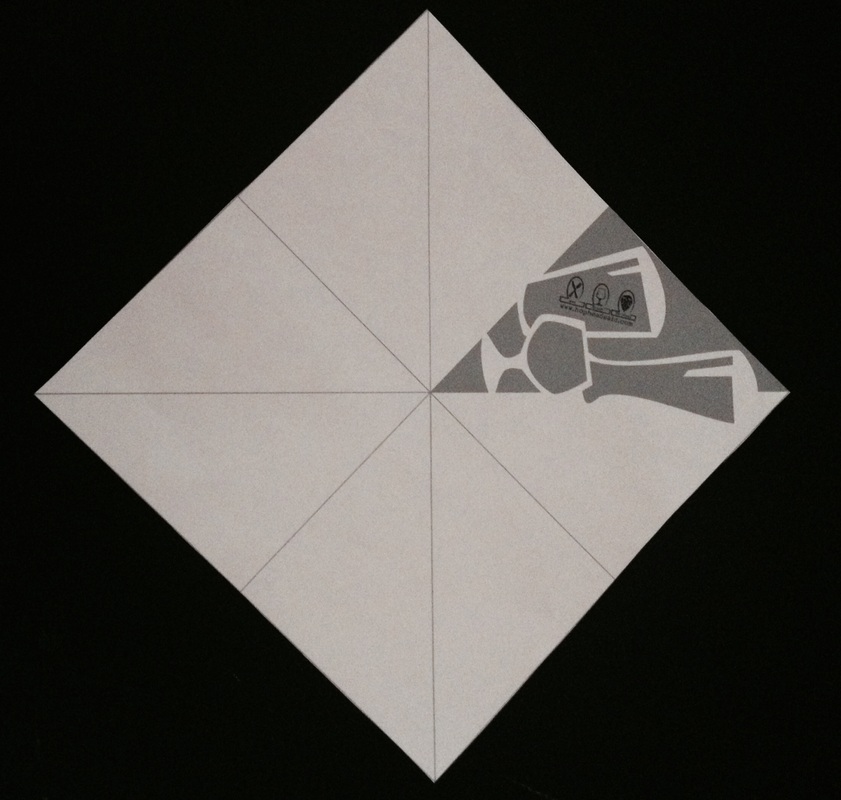
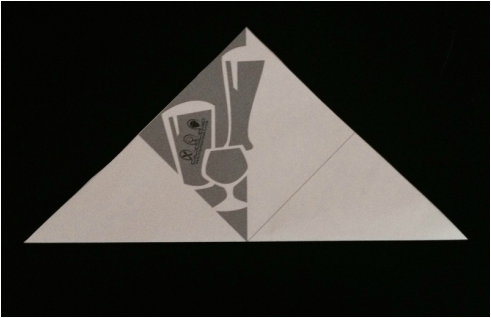
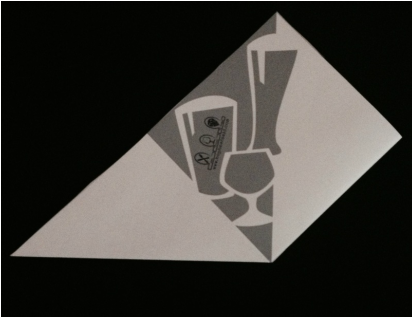
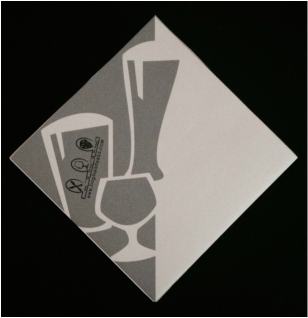
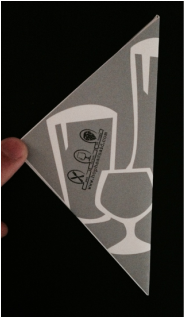
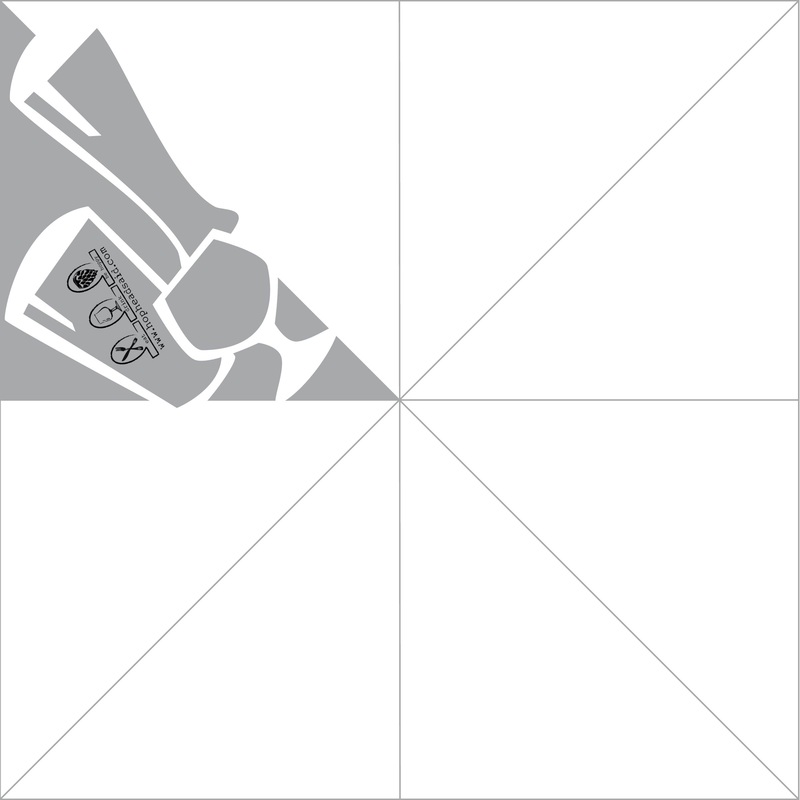
| Click image below to download. 1. Print snowflake design on 8.5” x 11” paper. 2. Cut off the extra paper around the square or circle design. A paper cutter will give you the best lines. 3. Fold the paper in half along all the lines. Open up the design after each fold before you move on to the next fold, this will give you tight fold creases making it easier to fold the design together in the next steps. 4. Fold the design into a triangle shape with the design in the top, left hand section. Crease the folds again. 5. Fold the bottom right triangle up and behind the top right triangle. Crease the folds again. 6. Fold the bottom left triangle up and behind the top left triangle. Crease the folds again. 7. Fold the blank triangle (top right-hand triangle) behind the triangle with the design. Crease the folds again. Next steps should be cut in order. This will keep the snowflake sturdy while you cut it. 8. Cut out all the gray parts inside the pint glass first with an X-acto knife. Cut one layer of paper and resist the urge to cut more. If you try to cut too many layers the paper will bunch and tear. 9. Next, cut out all the gray parts inside the pilsner glass with an X-acto knife. Cut one layer of paper and resist the urge to cut more. If you try to cut too many layers the paper will bunch and tear. 10. Lastly, use the X-acto knife to cut out the inside pilsner. (The following steps will make your snowflake a one-of-a-kind!) 11. Free hand trim the “foam” head and light reflection on each beer to make them balanced not symmetrical. |
 RSS Feed